
Published 2026 — Written by a network engineer with hands-on experience building and maintaining home IPTV servers across Linux and Windows environments. Every step in this guide reflects real setup conditions tested on actual hardware — not theoretical configurations copied from documentation.
I’ll be straight with you before we start: this is not a casual weekend project. I’ve built home IPTV servers three times across different hardware configurations, and every single build took longer than expected — not because the process is unclear, but because real server builds surface problems that polished guides quietly skip over.
When it works, though, it’s genuinely impressive. You get complete control over your streaming infrastructure, zero dependency on a third-party provider’s uptime, and a real understanding of how IPTV technology functions at the infrastructure level.
This guide merges everything you need into one place — who should actually build a home server, the right hardware, software stack decisions, full step-by-step setup, advanced optimizations, real troubleshooting, and an honest comparison with managed services. No fluff, no filler.
If you’re still figuring out what IPTV actually is before deciding on the DIY path, the what is IPTV guide covers the full technology landscape first. If you’ve already made the call — let’s build it.
Disclosure: This guide is published by Nova Prime IPTV. We cover the self-hosted route completely and honestly, including the situations where it genuinely outperforms a managed service.
Should You Build a Home IPTV Server?

The Use Cases That Actually Make Sense
Before buying hardware or spending a weekend on configuration, be honest about what you’re trying to accomplish. A home IPTV server is the right choice when:
You want to stream your own legally owned media library. Movies you purchased, TV recordings made with a hardware tuner card, personal video content — a self-hosted server gives you control over this material that no third-party provider can match. This is where a home server genuinely wins.
You’re a network engineer, systems administrator, or technical hobbyist. The skills you build here — server administration, transcoding configuration, network security, database management — are directly transferable to professional environments. The learning value is real.
You need custom household access controls. Different channel permissions per family member, parental controls you configure yourself, detailed viewing history tracking — a home server gives you granular control that managed services don’t offer.
You’re building a home lab. If you already run self-hosted infrastructure — Home Assistant, Pi-hole, Nextcloud — adding an IPTV server is a natural extension of that environment.
When You Should Honestly Skip the DIY Route
I’ve watched technically capable people spend an entire weekend building a home IPTV server, get it working, and abandon it three weeks later because the maintenance overhead wasn’t worth it for what they actually wanted. Here’s when a managed service is the honest better choice:
- You primarily want live TV channels and a large VOD library — sourcing legitimate live channel feeds for a personal server is genuinely complex, and a managed provider handles this entire infrastructure layer for you
- You want reliable streaming without ongoing maintenance — home servers need updates, monitoring, and periodic troubleshooting; managed services handle all of this invisibly in the background
- You’re not comfortable with Linux command line, network configuration, or server troubleshooting — the learning curve is real, and when something breaks at 9 PM during a live match, you’re the support team
If live TV and a deep content library are your primary goals, testing a managed service before committing to a DIY build is worth the hour. Nova Prime IPTV’s free trial gives you the full service — live channels, complete VOD library, multi-device access — with zero setup, so you can evaluate whether self-hosting is actually necessary for what you want.
Hardware Requirements for a Home IPTV Server
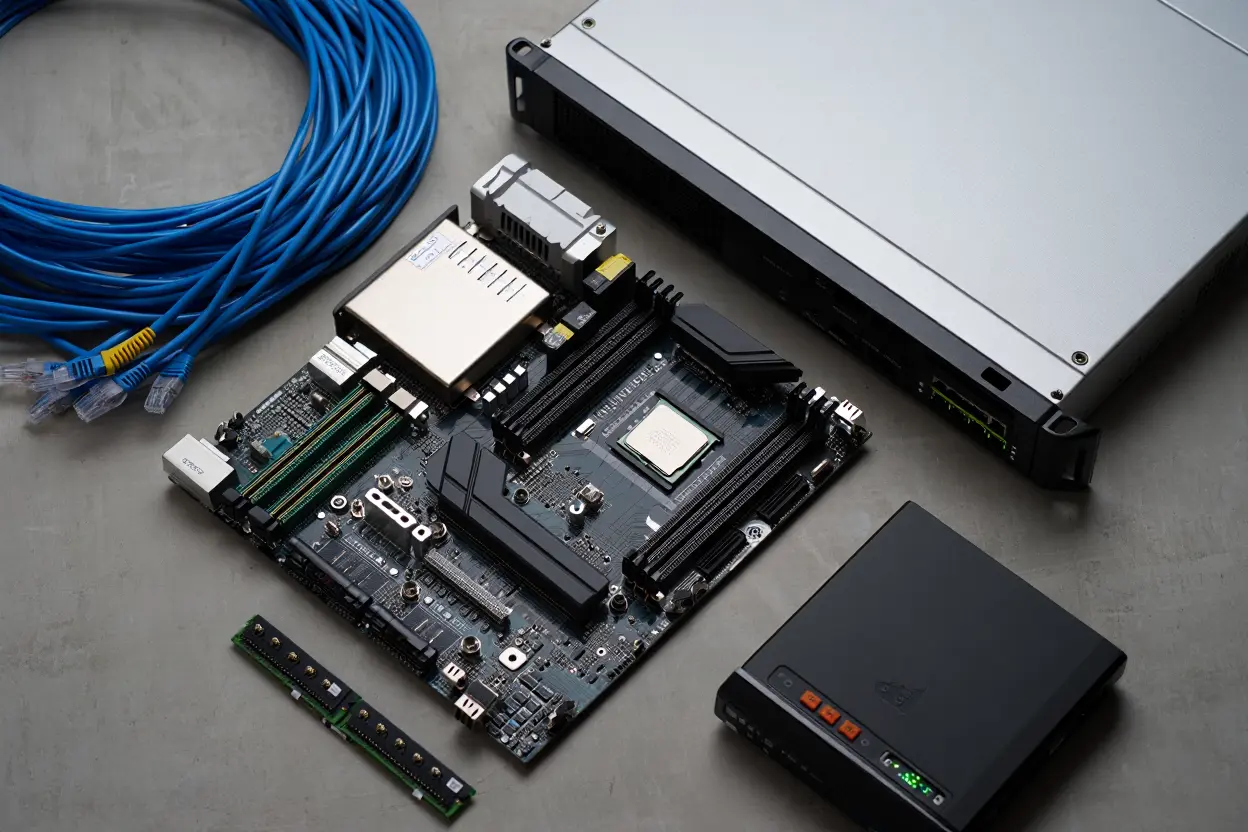
Choosing the Right Server Machine
Your hardware is the foundation everything else runs. Underpowered hardware produces buffering and transcoding failures that no software configuration can fix. Here’s what actually matters in 2026:
Processor: The CPU handles transcoding — converting video from one format to another in real time so different client devices can play it. An Intel Core i5 (8th generation or newer) handles two to three simultaneous HD streams in software transcoding comfortably. For four or more simultaneous streams, or for 4K transcoding, step up to an Intel Core i7 or AMD Ryzen 7. One important note: if your processor supports Intel QuickSync, or if you have an NVIDIA GPU in the server, hardware-accelerated transcoding drops CPU load by roughly 80–90%, which completely changes the processor requirements.
RAM: 8GB is the functional minimum for one to two simultaneous streams. 16GB gives comfortable headroom for three to four streams plus operating system overhead. If you run additional services on the same machine — which most home lab setups do — 32GB is worth the investment.
Storage: Entirely dependent on your VOD library. A 1080p movie file runs 4–15GB, depending on encoding. A 4K HDR movie runs 40–80GB. Plan around your actual library size plus 30% growth headroom. SSD dramatically improves multi-user simultaneous streaming performance over HDD — at three or more concurrent streams, the difference is measurable and consistent.
Network: Your server connects via Gigabit Ethernet — full stop. A server that other devices depend on cannot tolerate Wi-Fi variability. If a direct cable run isn’t practical, a powerline Ethernet adapter is acceptable. Wireless is not.
| Component | Minimum | Recommended |
| Processor | Intel i5 8th gen | Intel i7 / AMD Ryzen 7 |
| RAM | 8GB | 16–32GB |
| System Storage | 120GB SSD | 250GB SSD |
| Media Storage | 1TB HDD | 4TB+ SSD |
| Network Card | 100 Mbps Ethernet | Gigabit Ethernet |
| Broadband Speed | 100 Mbps | 500 Mbps+ |
Storage Architecture: RAID and Why It Matters
If your media library represents a significant time investment — thousands of films and TV series organized with metadata — a single drive failure that wipes it is genuinely painful. A RAID 1 configuration mirrors your content across two identical drives. One fails, the other keeps running; you replace the failed drive without losing anything.
For a home server, this is optional rather than required. But if you’ve spent 40 hours organizing a 10TB library, RAID 1 on your storage drives is cheap insurance against a completely avoidable catastrophe.
Dedicated Machine vs Repurposed PC
A repurposed desktop PC that meets the minimum specifications works perfectly well as a home IPTV server. Laptops also work but generate more heat under sustained streaming load than most people expect — ventilation matters more than chassis form factor when a machine runs 24/7.
Software Stack for Your Home IPTV Server
Why Linux Is the Right Choice Here
Linux is the correct operating system for a home IPTV server. Not because Windows can’t technically function — it can — but because Linux is genuinely better for this specific use case in ways that compound over time.
Linux uses significantly less RAM for the operating system itself, leaving more resources available for streaming workloads. It handles long uptimes without the gradual performance degradation Windows shows after weeks without a restart. Community documentation for every IPTV server software option is deeper and more current on Linux than on Windows. Security management is more straightforward. And when something breaks, the diagnostic tools are better.
Ubuntu Server 22.04 LTS is the recommendation for most people — wide hardware support, excellent documentation, an active community, and long-term support through 2027. Debian 11 is a solid alternative if you prefer a more conservative, stability-focused base.
IPTV Server Software — Choosing the Right Tool
Choose one based on your primary use case. Using the wrong tool for your goal creates frustration that has nothing to do with your technical ability.
TVHeadend is the best open-source option for live TV. It handles EPG data, multiple tuner inputs, hardware tuner cards, and M3U playlist feeds natively. Free, actively maintained since 2012, and the most widely documented option for Linux home server setups. Choose this if live TV recording and tuner card support are central to your use case.
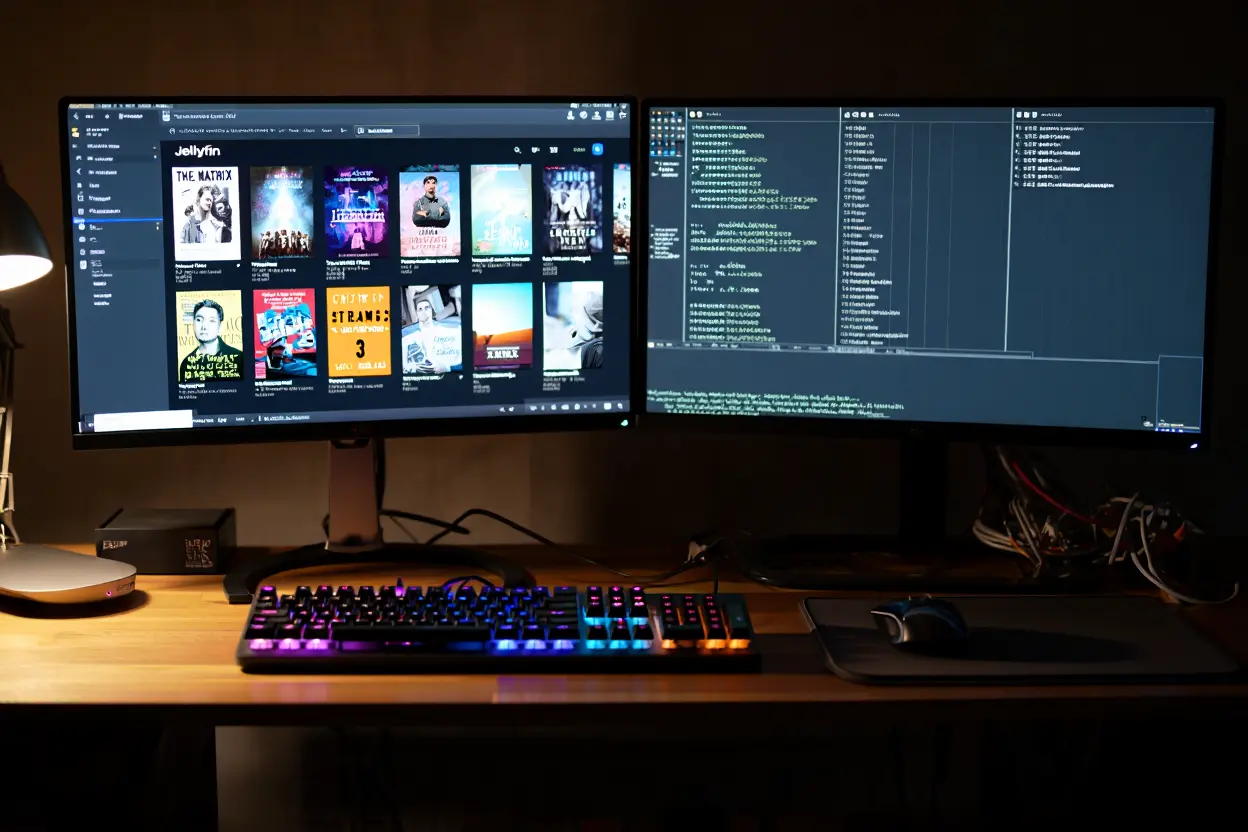
Jellyfin is purpose-built for personal media libraries — movies, TV shows, music, and personal video content you own. Clean web interface, excellent device compatibility, automatic metadata fetching from TMDB and TheTVDB, and zero licensing cost. Choose this if VOD management is your primary goal.
Plex Media Server offers the most polished user experience and the widest device app support of any option. The free tier handles VOD well; Plex Pass (paid subscription) adds live TV and DVR features. Choose this if interface quality and broad device compatibility matter more than cost.
Flussonic is professional-grade streaming server software operating at home scale. It handles high-concurrency scenarios better than the open-source alternatives but costs money and has a significantly steeper configuration curve. Choose this if you have specific professional requirements or plan to scale the setup beyond typical household use.
Supporting Software You’ll Need
FFmpeg handles all transcoding operations — converting video streams to formats your client devices support. Command-line-based, industry-standard, and integrated into virtually every IPTV server software option. This is the transcoding engine running underneath everything else.
VLC is more accessible than FFmpeg for beginners and includes a GUI transcoding option. Useful for testing specific stream formats before committing to a full FFmpeg configuration.
MySQL or MariaDB manages user accounts, viewing history, and access controls for multi-user setups. Single-user households don’t need this.
Nginx acts as a reverse proxy providing HTTPS encryption for your web interface — strongly recommended the moment you enable external access from outside your home network.
Step-by-Step Guide: Building Your IPTV Server
Step 1 — Install and Prepare Your Operating System
Start with a fresh Ubuntu Server 22.04 LTS installation. Download the ISO from ubuntu.com, write it to a USB drive using Rufus or Etcher, and boot from it on your server machine.
During installation, select these specific options:
- Minimal server installation — no desktop environment; servers don’t need a GUI and it wastes RAM
- OpenSSH server enabled — you’ll manage the server remotely via SSH from your main computer
- Skip additional snaps at this stage
After installation completes, run these commands before anything else:
bash
sudo apt update && sudo apt upgrade -y
sudo apt install ufw -y
sudo ufw enable
This updates all packages and enables the firewall before you install any server software. Starting with an unpatched, unprotected server is the single most common security mistake in home server builds — fix it before it’s a problem.
Next, assign your server a static IP address on your local network. Do this through your router’s DHCP reservation feature — locate your server’s MAC address in the router’s connected devices list and assign it a permanent internal IP. This prevents your router from giving the server a different IP after a reboot, which breaks every client device pointing at the old address.
Step 2 — Install Your IPTV Server Software
Installing TVHeadend on Ubuntu:
bash
sudo apt-key adv --keyserver hkp://keyserver.ubuntu.com:80 --recv-keys 379CE192D401AB61
echo "deb https://dl.bintray.com/tvheadend/deb focal stable" | sudo tee /etc/apt/sources.list.d/tvheadend.list
sudo apt update
sudo apt install tvheadend -y
```
After installation, open a browser on any computer on your network and go to:
http://[your-server-static-ip]:9981The setup wizard appears. Work through it carefully — decisions made here affect everything downstream. Configure these specifically:
- Set a strong admin username and password immediately — don’t leave defaults active
- Select your Ethernet network adapter, not a virtual or Wi-Fi interface
- Note the default ports: 9981 for the web interface, 9982 for HTSP streaming protocol
Installing Jellyfin on Ubuntu:
bash
sudo apt install apt-transport-https ca-certificates curl gnupg -y
curl -fsSL https://repo.jellyfin.org/ubuntu/jellyfin_team.gpg.key | sudo gpg --dearmor -o /usr/share/keyrings/jellyfin.gpg
echo "deb [signed-by=/usr/share/keyrings/jellyfin.gpg] https://repo.jellyfin.org/ubuntu focal main" | sudo tee /etc/apt/sources.list.d/jellyfin.list
sudo apt update && sudo apt install jellyfin -y
Access Jellyfin at http://[your-server-ip]:8096 and follow the setup wizard to point it at your media library directories.
Enable both services to start automatically after reboots:
bash
sudo systemctl enable tvheadend
sudo systemctl enable jellyfin
```
Step 3 — Configure Your Content Sources
Live TV via hardware tuner card:
Install your tuner card in the server machine, boot up, and TVHeadend detects it automatically in most cases. Confirm detection under Configuration → DVB Inputs → TV Adapters. Add your region’s mux frequencies under Configuration → DVB Inputs → Networks to start pulling in channel data and EPG information.
Live TV via M3U playlist:
In TVHeadend, navigate to Configuration → DVB Inputs → Networks → Add Network → IPTV Automatic Network. Enter your M3U URL in the URL field. TVHeadend scans the playlist and populates your channel list automatically.
One point worth stating clearly: the legality of what you stream through your server is entirely your responsibility. Over-the-air broadcast channels received via tuner card, your own purchased media, content you have explicit rights to — all legal. Unlicensed streams from unverified M3U sources — not legal, regardless of the server software. The IPTV legal guide covers exactly where the legal lines sit if you want to understand this before sourcing content.
Step 4 — Organize Your VOD Library
File organization is what separates a library Jellyfin matches automatically from one you spend hours fixing manually. Use this naming convention precisely:
```
/media/
  /movies/
    /The Dark Knight (2008)/
      The Dark Knight (2008).mkv
  /tvshows/
    /Breaking Bad/
      /Season 01/
        Breaking Bad S01E01.mkv
        Breaking Bad S01E02.mkv
Jellyfin matches these filenames against TMDB and TheTVDB to pull in cover art, descriptions, ratings, and cast information automatically. Files named correctly match automatically. Files named inconsistently require manual correction — and at scale, that’s hours of work.
Add your library to Jellyfin:
- Go to Dashboard → Libraries → Add Media Library
- Select content type — Movies, TV Shows, or Music
- Point it at your organized folder path
- Let the metadata scan complete fully before evaluating results — large libraries take time
Storage planning reality check: A 1080p movie runs 4–15GB. A 4K HDR movie runs 40–80GB. Plan your storage before you start filling the library, not after.
Step 5 — Set Up User Account Management
In TVHeadend: Go to Configuration → Users → Add User. Set per-user permissions, including channel access, maximum simultaneous connections, and whether users can modify server settings. For a household with children, restricting channel categories per account is straightforward from this menu.
In Jellyfin: Go to Dashboard → Users → Add User. Jellyfin’s user management is more granular — library access permissions, content rating limits for child accounts, remote access permissions, and download permissions are all configurable per user independently.
For advanced multi-user management requiring subscription-style controls or detailed usage history, set up MySQL as your database backend:
bash
sudo apt install mysql-server -y
sudo mysql_secure_installation
Work through the secure installation prompts — set a root password, remove anonymous users, and disable remote root login. Then configure your IPTV server software to use MySQL for persistent user data storage across server restarts.
Step 6 — Network Configuration and External Access
Port forwarding for external access: Log into your router admin panel (typically 192.168.1.1 or 192.168.0.1) and add forwarding rules:
- External port 9981 → server internal IP, port 9981 (TVHeadend web interface)
- External port 9982 → server internal IP, port 9982 (TVHeadend HTSP)
- External port 8096 → server internal IP, port 8096 (Jellyfin)
Dynamic DNS: Your home connection almost certainly has a dynamic public IP that changes periodically. Create a free account at DuckDNS.org, set up a hostname (yourname.duckdns.org), and install the DuckDNS update client on your server. Your hostname updates automatically whenever your public IP changes — remote devices always connect successfully without you tracking IP changes manually.
Open only the ports you actually use:
bash
sudo ufw allow 9981/tcp
sudo ufw allow 9982/tcp
sudo ufw allow 8096/tcp
sudo ufw status
Every open port is an attack surface. Only open what your server software actively needs.
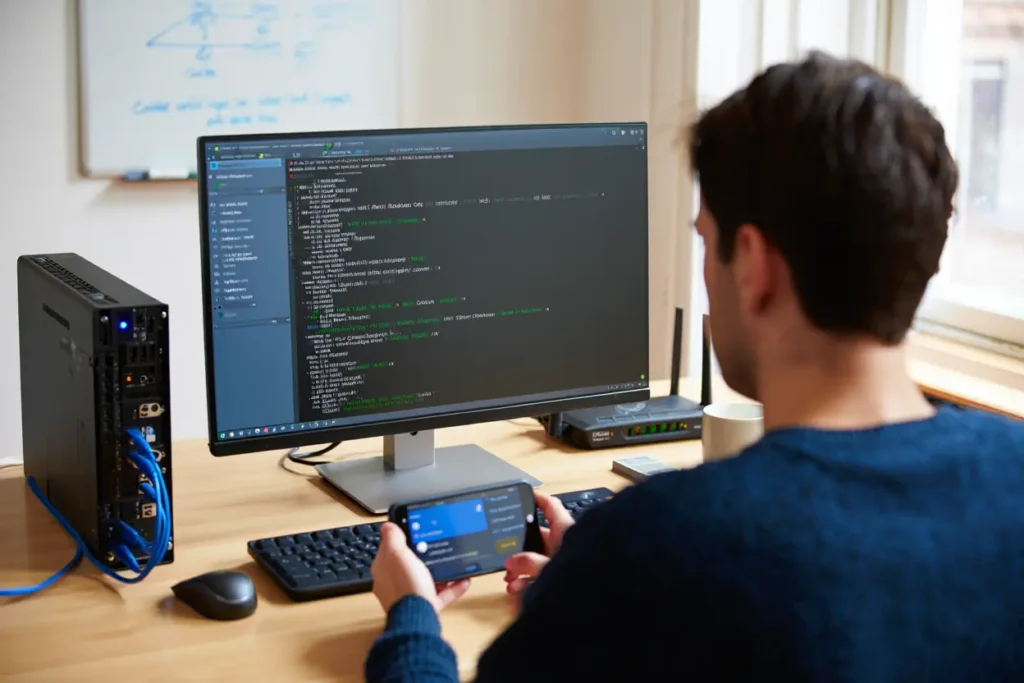
Step 7 — Test on Every Device Before You’re Done
Testing before calling the setup complete is not optional. A stream that works on your PC sometimes fails on your Smart TV due to codec incompatibility — and you want to discover that now, not during a live event.
Work through this checklist on every device type you plan to use:
- Stream plays on Fire TV Stick or Android box without buffering
- Smart TV connects and plays without codec errors
- PC or Mac browser playback works correctly
- Mobile device — iOS and Android — plays cleanly
- Two simultaneous streams play without quality degradation
- External access works from a mobile connection (not your home Wi-Fi)
- EPG data displays correctly on all client devices
When you find problems — and you will find at least one — the most common causes are codec incompatibility on specific devices (fix: configure a transcoding profile for that device), firewall blocking a port (fix: sudo ufw status), and the server service not starting after a reboot (fix: sudo systemctl enable tvheadend).
Choosing the right client device matters for getting the most out of your server. The Firestick vs Android Box for IPTV comparison covers the hardware differences in detail if you’re deciding between client device options. And once your server is running, our setup IPTV guide covers configuring specific client apps on every major platform.
Advanced Optimizations for Home IPTV Servers
Hardware-Accelerated Transcoding
Software transcoding is the most CPU-intensive operation your server performs. Three simultaneous 1080p streams in software transcoding push an i7 processor to 70–90% CPU usage. Hardware acceleration drops that same workload to 10–20%.
Intel QuickSync — available on Intel 6th generation and newer processors — handles H.264 and H.265 encoding efficiently. Enable it in Jellyfin under Dashboard → Playback → Transcoding → Hardware Acceleration → Intel QuickSync Video.
NVIDIA NVENC — available if your server has a dedicated NVIDIA GPU — handles higher concurrency than QuickSync and produces excellent quality output. Enable it in the same Jellyfin transcoding menu by selecting NVENC.
Direct play vs transcoding: Direct play passes the original stream unchanged to the client device — zero CPU cost on the server. Configure your client devices to support H.264 and AAC natively wherever possible. When direct play is active, your server CPU barely registers the stream. Reserve transcoding for devices that genuinely can’t handle the source format natively.
Multi-bitrate streaming: Offering streams at multiple resolutions — 1080p, 720p, 480p — lets client devices automatically select the appropriate quality for their current connection speed. This is particularly useful when streaming remotely over mobile connections with variable bandwidth.
Quality of Service Router Settings
QoS in your router’s settings lets you prioritize traffic from your server over other network activity. When someone else on your network starts a large download while you’re streaming, QoS ensures your server traffic gets bandwidth first.
Access your router admin panel and find the QoS or Traffic Priority section. Assign high priority to your server’s static IP address. The specific menu path varies by router manufacturer, but the principle is the same across all of them — your router serves your server’s traffic first when bandwidth is contested.
Security Configuration You Cannot Skip
A home server accessible from outside your network is a real target. These aren’t optional hardening measures — they’re baseline requirements:
SSL/HTTPS for web interface access: Use Let’s Encrypt (free) with Nginx as a reverse proxy to serve your Jellyfin and TV Headend interfaces over HTTPS. Accessing admin panels over unencrypted HTTP from outside your home exposes your credentials in transit.
Disable root SSH login:
bash
sudo nano /etc/ssh/sshd_config
# Change: PermitRootLogin yes
# To: PermitRootLogin no
sudo systemctl restart ssh
Switch to SSH key authentication: Brute-force attacks against SSH password authentication are automated and run continuously against exposed servers. Key-based authentication eliminates this attack vector.
Monitor access logs periodically:
bash
sudo tail -f /var/log/auth.log
Repeated failed login attempts from unfamiliar IP addresses indicate an active brute-force attempt. Block persistent sources with UFW immediately.
Backup Strategy for Your Server Configuration
The time you invest in configuring a home IPTV server is significant. A backup routine that runs automatically protects that investment against hardware failure.
Back up at minimum — weekly, automated:
- IPTV server software configuration files
- User account database exports
- Media library metadata (the video files themselves presumably exist elsewhere)
A weekly cron job backing up these files to an external drive or cloud storage takes 30 minutes to set up and prevents starting from scratch after a drive failure.
Common Problems and How to Fix Them
Streams Buffer Despite Fast Internet
On a home server, this is almost always a transcoding bottleneck rather than a network issue. Check CPU usage during a buffering episode:
bash
top
If CPU usage is consistently above 80%, your server is software-transcoding and can’t keep up with the workload. Work through these fixes in order:
- Enable hardware-accelerated transcoding (QuickSync or NVENC)
- Reduce the simultaneous stream count until hardware acceleration is active
- Lower default output resolution in transcoding settings
- Upgrade the processor if none of the above resolves the issue
If CPU usage is normal during buffering, the issue is network-side — check the connection quality between the server and the client device.
Client Devices Can’t Connect to the Server
Connection failures almost always trace to one of three causes. Check in this exact order:
- Confirm the server software is running: sudo systemctl status tvheadend
- Confirm the firewall allows the relevant port: sudo ufw status
- Verify the client device uses the correct server IP address and port number
- Check the port forwarding configuration if accessing from outside the home network
Codec Errors on Specific Devices
Codec errors mean that the device doesn’t support the source stream’s format natively and needs the server to transcode before delivery. In Jellyfin, check Dashboard → Playback to see which formats each device reports as supported. Configure a transcoding profile that converts the unsupported format for that specific device.
H.264 at standard bitrates plays natively on virtually every device manufactured in the last eight years. If you can transcode or encode your library to H.264 as a baseline format, codec compatibility errors largely disappear across your device fleet.
Conclusion
Building your own IPTV server at home is a rewarding project when you go in with honest expectations. The control over your own content library, the skills you develop working through real networking and server administration challenges, and the satisfaction of infrastructure you understand completely — none of that is exaggerated.
What gets exaggerated in most DIY guides is how straightforward the process is. It takes real time, real troubleshooting, and ongoing maintenance commitment. A server that runs well in month one requires attention to keep running well in month six.
If the project itself has value to you — the learning, the control, the technical depth — build it. Follow this guide step by step, take the security configuration seriously, and don’t skip the testing phase.
If the end result is what matters — reliable streaming of live TV and on-demand content without maintaining infrastructure — a managed service gets you there faster, more reliably, and with less ongoing overhead. Nova Prime’s IPTV free trial is worth testing before spending a weekend on server setup. Their contact IPTV page connects you directly with the team if you have questions before deciding.
FAQs About how to build your own IPTV server at home

How long does building a home IPTV server take?
Realistically, 6–12 hours for a first build from OS installation through fully tested streaming. This assumes you have hardware ready, reasonable Linux comfort, and follow a structured guide. Every build hits at least one unexpected problem — budget time for troubleshooting rather than hoping the process goes perfectly. Experienced home server builders familiar with the toolchain complete clean builds in 3–4 hours.
Do I need Linux experience to build this?
You need basic Linux comfort — navigating the command line, running commands, editing configuration files with a text editor, and understanding file permissions. If you’ve never opened a terminal before, spend a few hours with Ubuntu Desktop first before attempting a server build. The Ubuntu Server documentation is genuinely thorough for beginners starting from scratch.
Is building a home IPTV server legal?
The server software is completely legal. Your content sources determine legality. Over-the-air broadcasts from a tuner card, media you purchased, personal videos you created — all legal. Unlicensed streams from unverified sources are not, regardless of what server software you use. The is IPTV legal guide covers the legal landscape in full detail.
Can I access my home server while traveling?
Yes — with port forwarding and dynamic DNS configured, you can reach your server from anywhere with internet access. Performance depends on your home broadband upload speed. Most residential plans offer 20–50 Mbps upload — sufficient for one or two HD streams remotely. Check your upload speed at Speedtest.net before expecting smooth remote 4K streaming.
What does a home IPTV server actually cost to build?
Hardware costs vary significantly based on what you already own. A repurposed desktop meeting minimum specs costs nothing extra. New dedicated hardware runs $300–600 for a capable setup. A 4TB SSD for a VOD library adds $250–400. Electricity for a machine running 24/7 adds $15–30 per month. Total first-year cost on new hardware typically runs $600–900, including electricity, comparable to two to three years of a managed IPTV subscription.
TVHeadend or Jellyfin — which should I choose?
They solve different problems and are not direct competitors. TVHeadend is built specifically for live TV — tuner cards, EPG data, and live channel management. Jellyfin is built for VOD libraries — personal media collections with polished metadata and a Netflix-style browsing interface. For a comprehensive home server handling both use cases, running both and integrating them gives you the best of each. Start with whichever matches your primary use case and add the second later.
How is a home server different from a managed IPTV service?
A home server gives you complete control over your own content, but requires you to source, organize, and maintain everything yourself. A managed IPTV subscription gives you access to the provider’s channel lineup and content library with zero infrastructure work. They genuinely solve different problems. The what is IPTV guide explains how both approaches work technically, if you want to understand the infrastructure difference before deciding.